PHOTOGRAPHER + EDUCATOR
My goal with every single shoot is to preserve your unique relationship in its most authentic and adventurous form, creating memories that resonate and stories that last a lifetime. After all, you only get one life, so fucking live it 🤘🏼
But my passion doesn’t stop there. I also love sharing my expertise and insights with fellow photographers, helping them grow and elevate their craft. Whether it’s through mentorship, behind-the-scenes guidance, or sharing tips and tricks I’ve learned over the years, I’m here to support others in capturing moments that matter just as much. Let’s create, learn, and live boldly—together.
CHANTEL ZETTEL
FREE PDF GUIDE
GET IT HERE
Pro Tips from an Experienced Wedding Photographer
Weddings are full of unforgettable moments, from grand entrances to heartfelt speeches and dance floor celebrations. However, the unpredictable lighting in these settings can make capturing high-quality photos challenging. This is where mastering flash photography comes in.
In this guide, we’ll delve into the intricacies of using a flash at weddings, including setting power levels, choosing the right modes, using creative techniques like shutter drag, and tips for fast-paced scenarios. Let’s get started!
Why Flash Photography is Essential for Weddings
Natural light is ideal, but it’s not always available or reliable, especially during indoor or nighttime events. A flash helps to:
- Freeze Motion: Essential for fast-paced moments like entrances or dancing.
- Improve Lighting Consistency: Ensures subjects are well-lit, regardless of ambient lighting.
- Create Artistic Effects: Techniques like shutter drag add drama and flair to your shots.
One popular choice for wedding photographers is the Godox V1N flash, known for its round-head design and versatility. Whether you’re using manual or TTL modes, it provides the flexibility needed for various lighting conditions.
Understanding Flash Power Settings
The flash’s power setting determines how much light it emits. The higher the power, the brighter the flash—but also the longer the recharge time. Here’s how to choose the right setting:
- High Power Settings (e.g., 1/1 or 1/32):
- Ideal for very dark environments.
- Requires a longer recycle time (5–10 seconds).
- Best for stationary moments like portraits or detail shots.
- Medium to Low Power Settings (e.g., 1/64, 1/128, or 1/256):
- Allows faster bursts, crucial for action-packed scenarios.
- Recommended for entrances, group shots, and candid moments.
For most wedding events, sticking to 1/64 or 1/128 strikes a balance between brightness and speed.
Key Techniques for Flash Photography at Weddings
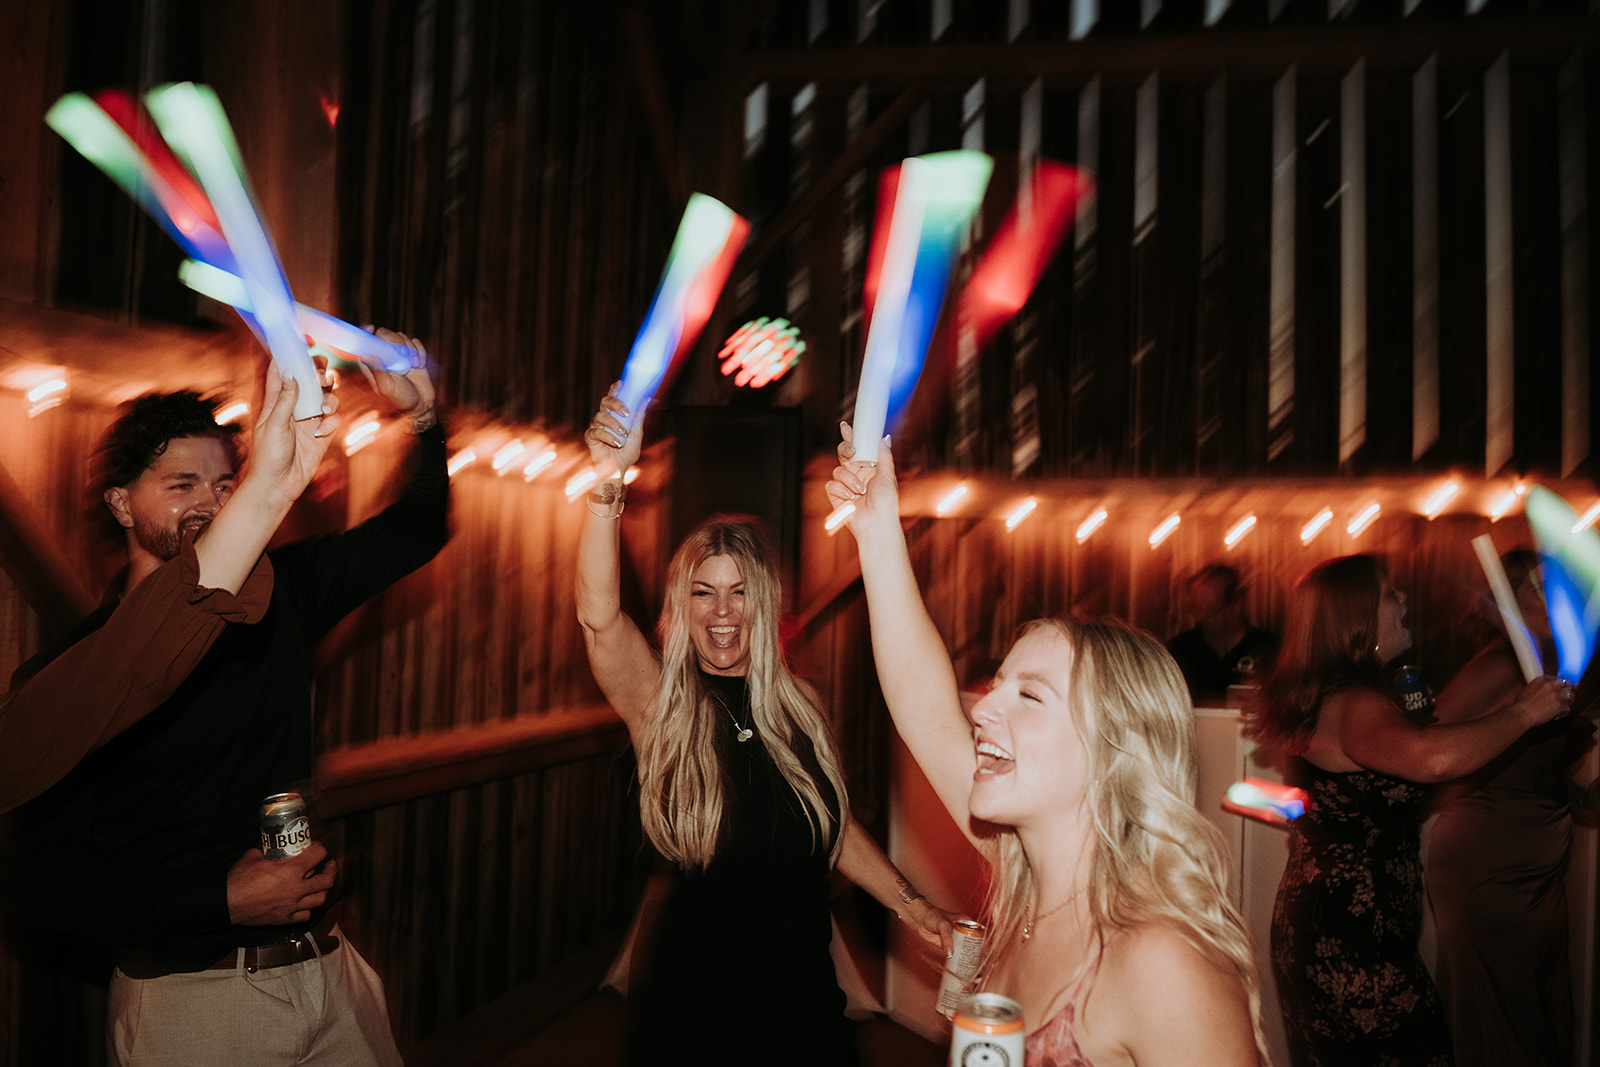
1. Shutter Drag: Add Drama to Dance Floors
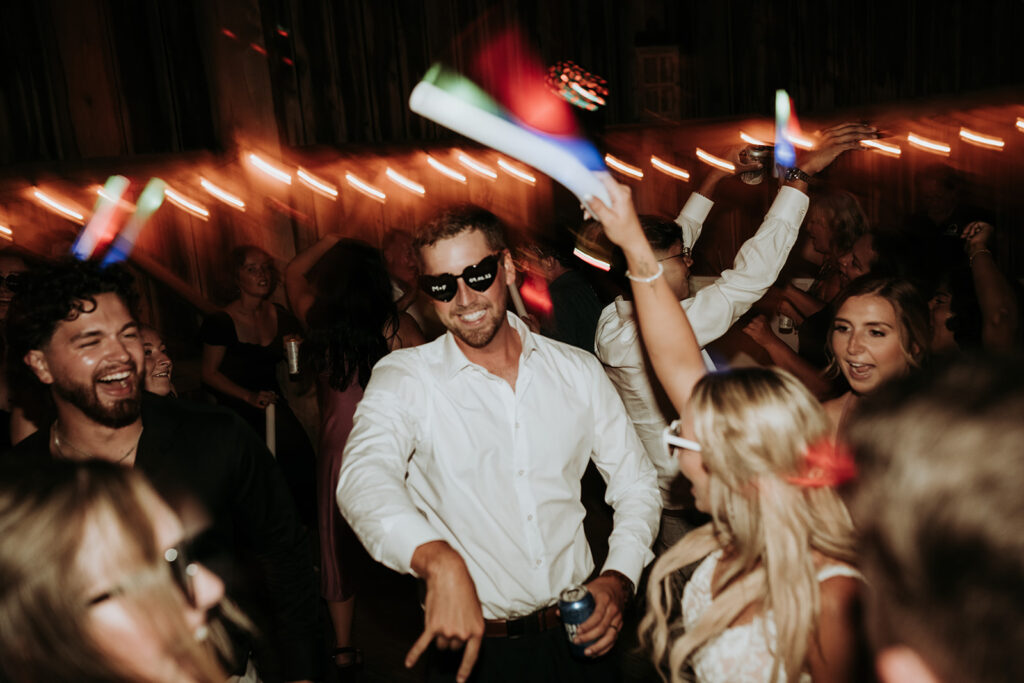
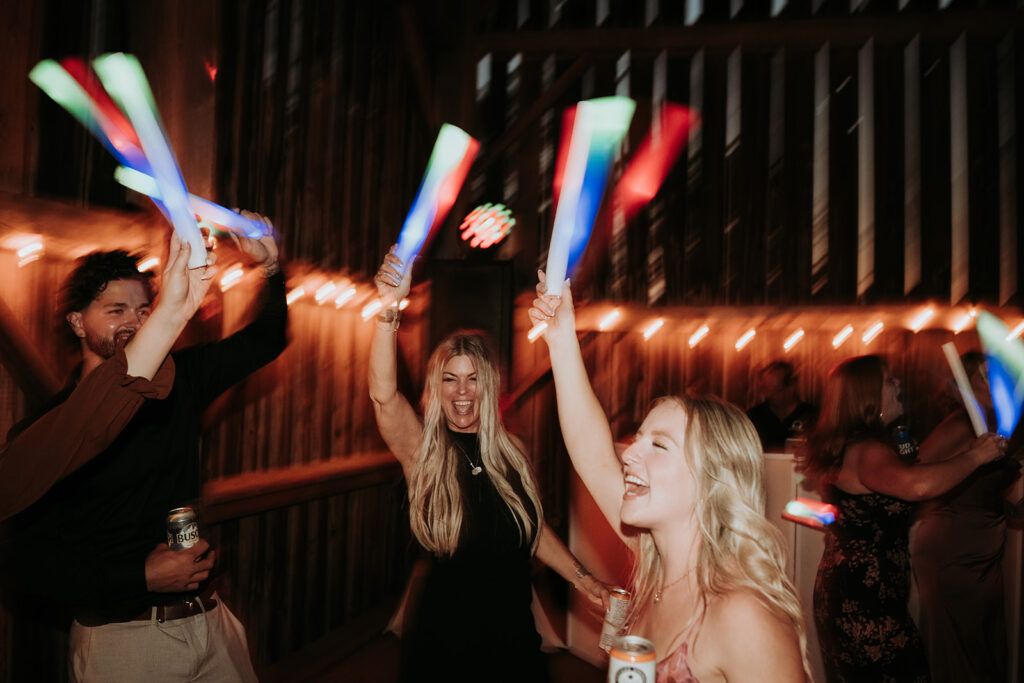
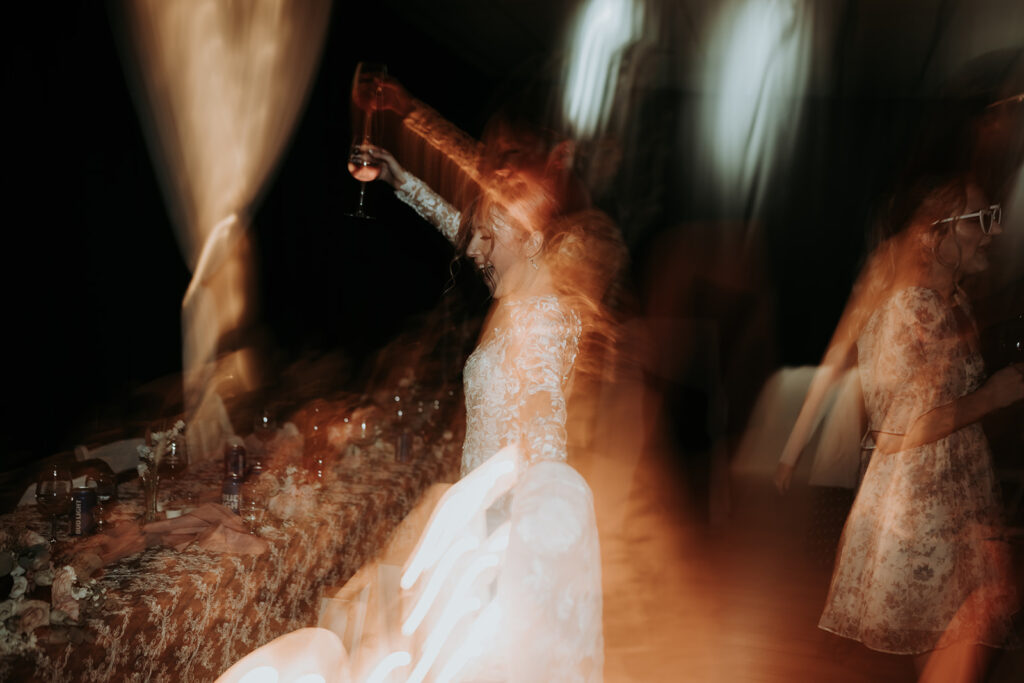
Shutter drag combines a slow shutter speed with a flash burst, freezing your subject while capturing motion trails. This technique is perfect for energetic moments, like the couple dancing or partygoers on the dance floor.
How Shutter Drag Works:
- The flash fires, freezing the subject at that instant.
- The camera’s slow shutter speed continues to capture ambient light and movement, resulting in dramatic light trails.
Step-by-Step Guide:
- Shutter Speed: Set to 1/6 or slower.
- Aperture: Start with f/5 or f/6 and adjust as needed.
- ISO: Lower it to avoid overexposure.
- Flash Direction: Point it directly at your subject to freeze their motion.
- Movement: Once you press the shutter, move your camera (e.g., swipe, swirl, or zigzag) to create the light trails.
Pro Tip: Practice different camera movements to achieve unique patterns. This technique works best in dim environments like receptions or parties with string lights or vibrant decor.
2. Bouncing Light for Natural Results
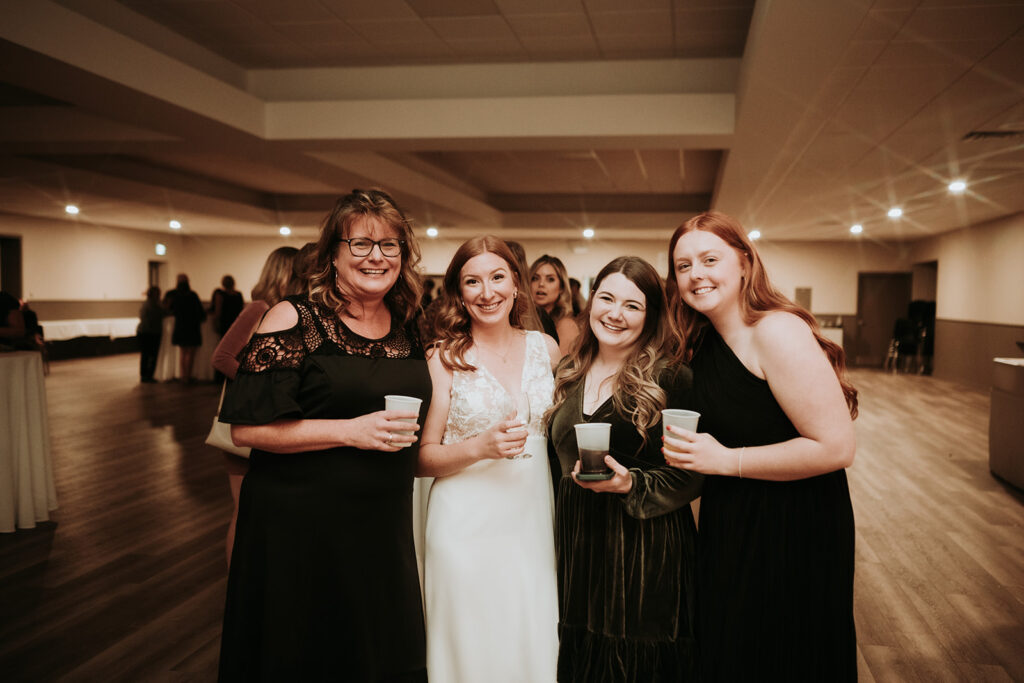
Instead of pointing the flash directly at your subject, bouncing light off a surface softens and diffuses it, reducing harsh shadows.
How to Bounce Light:
- Position the Flash: Attach it to your camera’s hot shoe and tilt it toward a ceiling or wall.
- Angle Matters: Aim toward neutral-colored surfaces to avoid unwanted color casts.
- Ideal Uses: Speeches, first dances, indoor ceremonies, or candid portraits.
Why It Works: Bouncing light creates a natural, flattering glow and soft shadows, adding depth to your photos.
3. Direct Flash: When to Use It
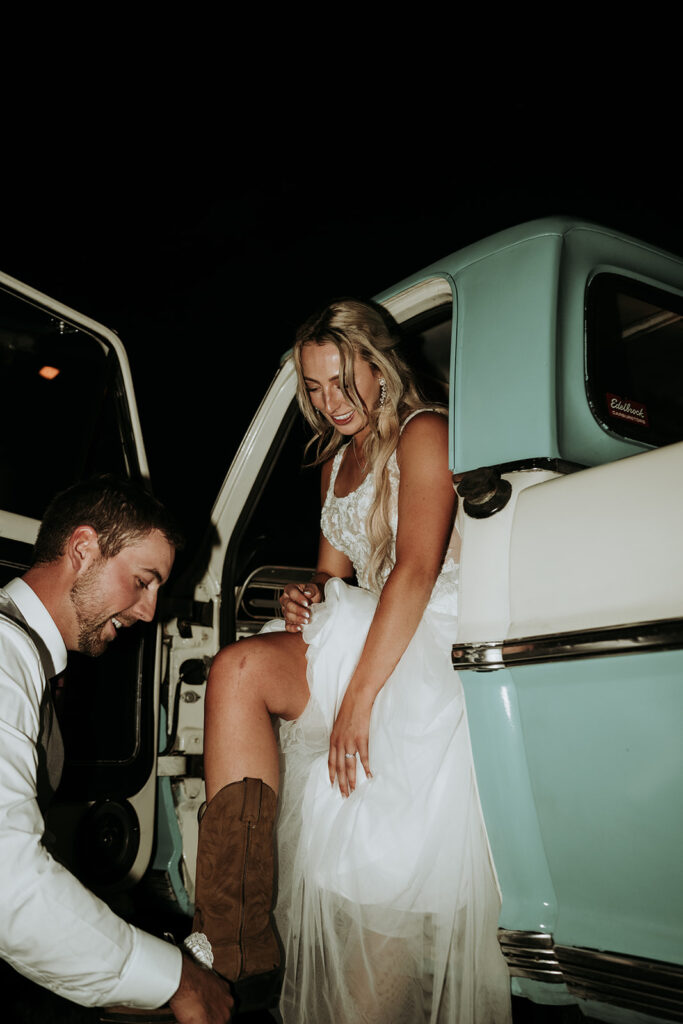
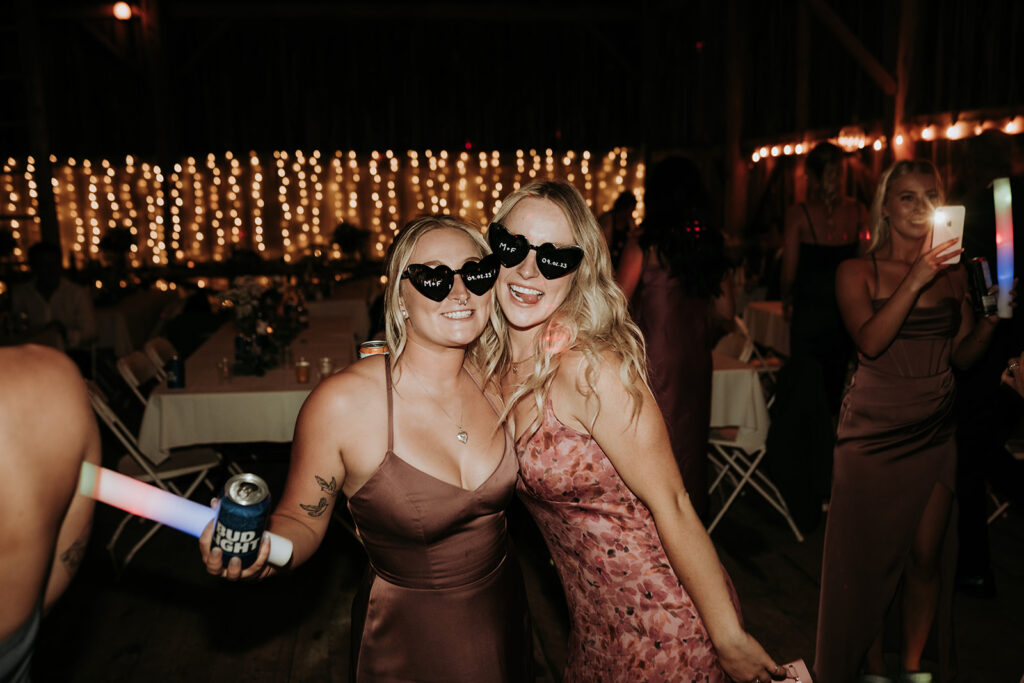
Direct flash can be intense, but it’s useful in specific situations, such as shutter drag or freezing fast motion in dim settings.
Best Practices for Direct Flash:
- Use the lowest power setting (1/128 or 1/256) to avoid overpowering your subject.
- Aim the flash at your subject only when necessary, as it can be blinding at higher power levels.
Flash Modes: Manual vs. TTL
The Godox V1N offers two modes:
- Manual Mode:
- Gives full control over the flash’s power and direction.
- Ideal for experienced photographers who want precision.
- Example: Adjusting the flash power to suit different moments like entrances or speeches.
- TTL (Through-the-Lens) Mode:
- Automatically adjusts flash power based on your camera’s settings and ambient light.
- Great for beginners or situations with rapidly changing light.
Which to Choose?
While TTL is convenient, manual mode is often preferred for weddings as it allows you to tailor the flash output to your creative vision.
Practical Scenarios and Tips
Fast-Paced Events
During entrances or group shots, moments happen quickly. Follow these tips to stay on top of the action:
- Lower Power Settings (1/64 or 1/128): These reduce recycle time, allowing you to capture multiple shots in quick succession.
- Pre-Adjust Your Camera: Set your aperture, ISO, and shutter speed in advance.
Dealing with Recharge Times
When using high power (e.g., 1/1), your flash may take up to 10 seconds to recharge. Anticipate slower moments, like speeches or couple portraits, to use these settings effectively.
Creative Applications of Flash Photography for Wedding
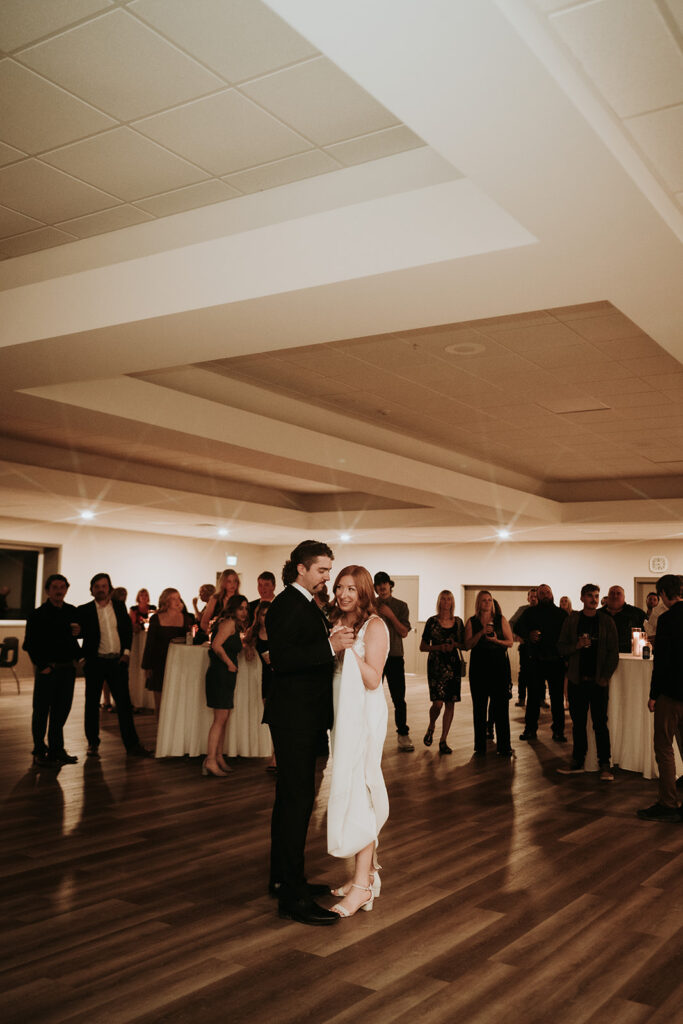
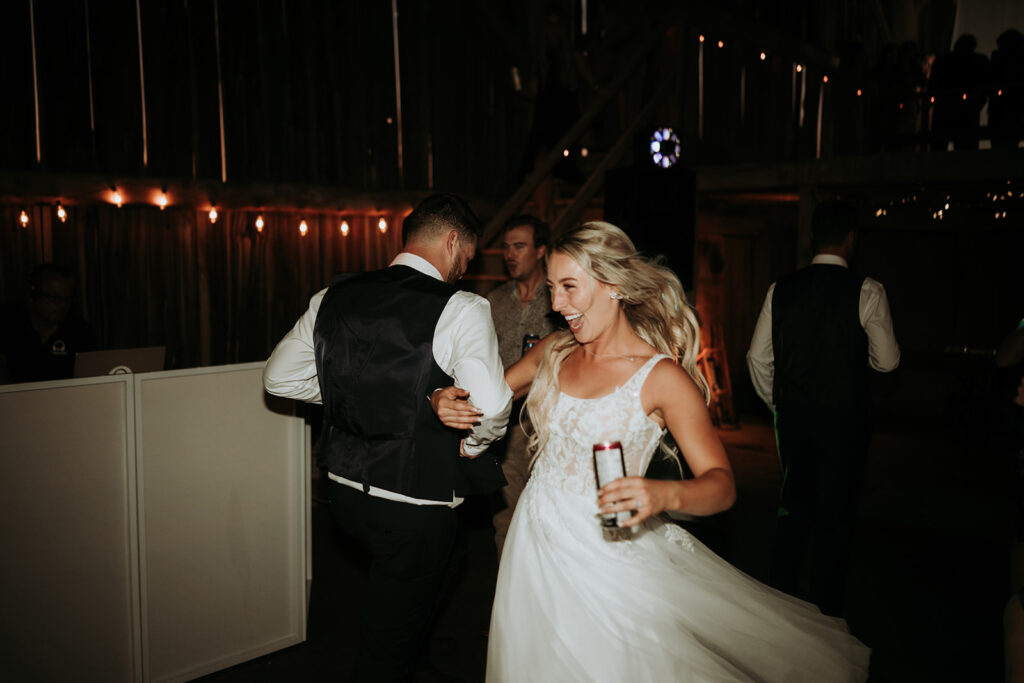
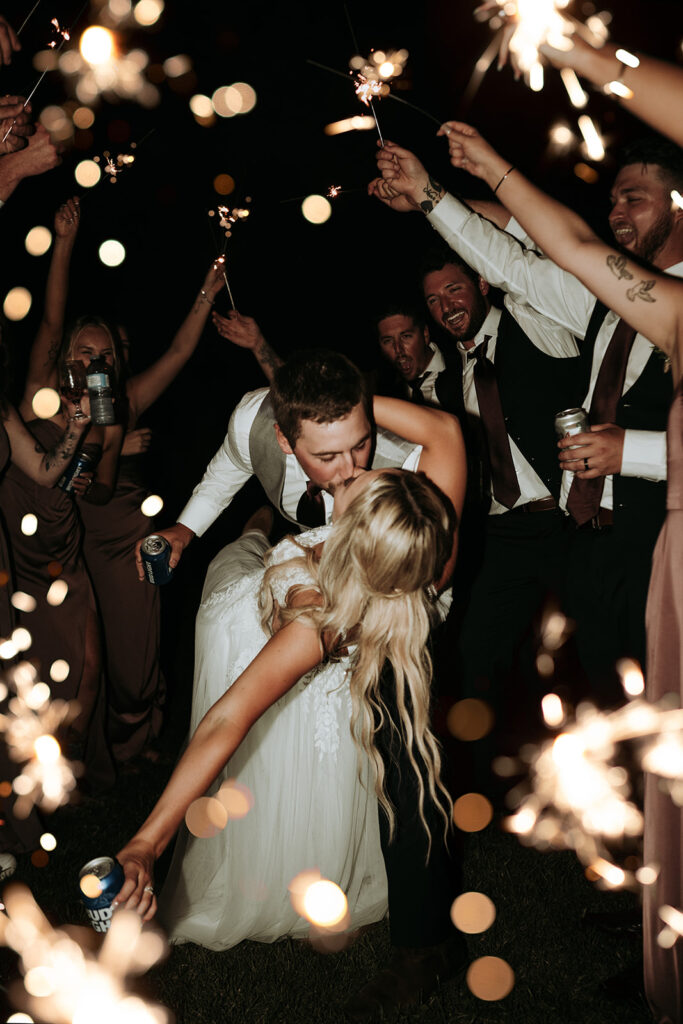
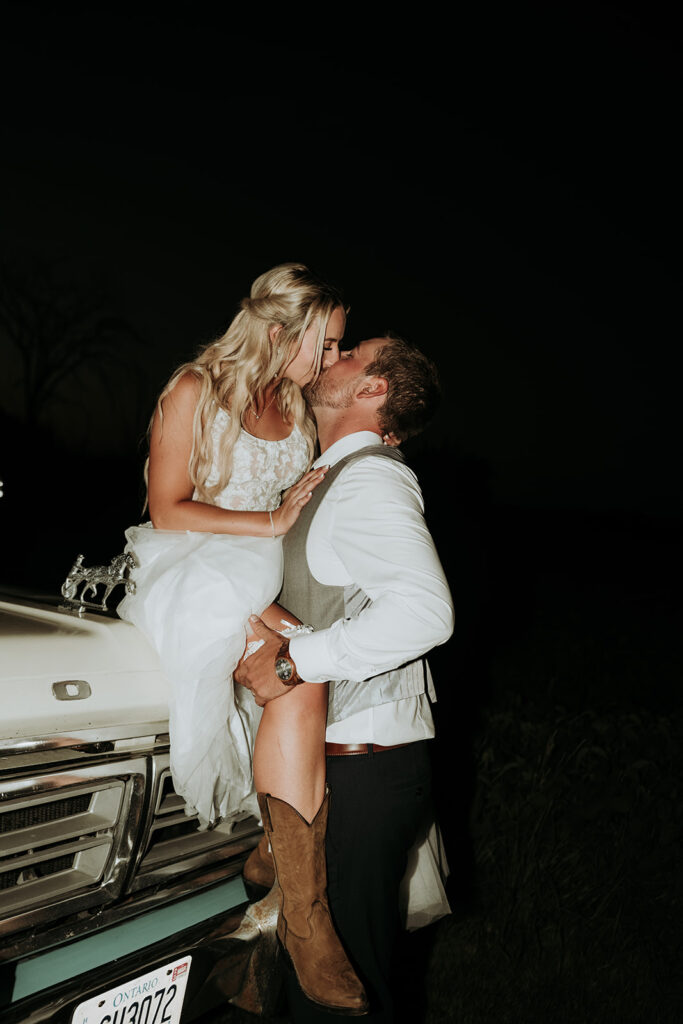
- Couple Portraits: Bounce light off a nearby surface for soft, romantic lighting.
- Reception Entrances: Use medium power for quick bursts during fast-paced entrances.
- Party Shots: Switch to shutter drag to capture the energy and vibrancy of the dance floor.
- Details: Highlight decor, rings, or invitations with controlled direct flash.
Conclusion
Flash photography is an invaluable skill for wedding photographers, enabling you to adapt to any lighting condition and add creativity to your work. From mastering the bounce technique to experimenting with shutter drag, the possibilities are endless with the right tools and practice.
Remember, the key to success lies in preparation:
- Test your flash settings before the event.
- Familiarize yourself with the venue’s lighting conditions.
- Experiment with techniques to build confidence.
Learn More: Watch the Tutorial!
For an in-depth look at these techniques, watch the accompanying YouTube video below where I demonstrate how to use the flash, set power levels, and achieve stunning effects like shutter drag. You’ll get to see these tips in action, step by step!
Got questions or want to see more photography tips? Let me know in the comments or follow for more insights!
PHOTOGRAPHER + EDUCATOR
My goal with every single shoot is to preserve your unique relationship in its most authentic and adventurous form, creating memories that resonate and stories that last a lifetime. After all, you only get one life, so fucking live it 🤘🏼
But my passion doesn’t stop there. I also love sharing my expertise and insights with fellow photographers, helping them grow and elevate their craft. Whether it’s through mentorship, behind-the-scenes guidance, or sharing tips and tricks I’ve learned over the years, I’m here to support others in capturing moments that matter just as much. Let’s create, learn, and live boldly—together.
